Netkit Install Guide
Recommendations#
Netkit-JH is designed to run on any 64-bit Linux system, but is mainly tested and used on Ubuntu 20.04 hosts. While our primary focus is supporting Ubuntu, we welcome any patches / improvements that are designed for alternative distributions. Support for Arch Linux has been improving, but is often less stable.
tip
If would like to add / improve support for your distribution have a look at the development guides!
Installing Netkit-JH#
Download the installation script install-netkit-jh-VER.sh (where VER is the release version) from the Github release page.
note
This script does not need to be run as root, but will require root privileges partway through.
It is recommended to look at the contents of the script before execution so you understand what you are running on your system and which commands you are giving root privileges to.
To use the script, first make it executable:
Then run:
After this has finished, Netkit should be installed.
caution
If you are using a shell other than bash, you will need to add a few lines to your shell config (e.g. for zsh add it to ~/.zshrc)
Copy the 3 lines under # additions for netkit from your ~/.bashrc - they should look similar to the following
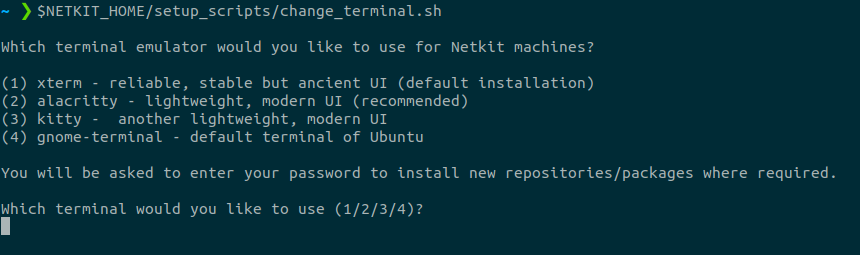
Changing the Terminal#
The default terminal emulator configured for Netkit is xterm. This is the most stable and tested terminal with Netkit, but it can be painful to use due to the tiny default font size and poor UI in general.
In v1.0.0 of Netkit-JH, we added support to choose other terminals including Alacritty and Kitty. We would recommend you switch your terminal preference to Alacritty after installing Netkit. To do this you can use the provided change terminal script: